BrokeAss Gourmet

BrokeAss Gourmet

Green Chile Burgers

  • Prep Time 10 minutes
  • Cook Time 8 minutes
  • Estimated Cost $8
  • 28 Comments

One of the coolest things about being a blogger is that companies send you all kinds of cool stuff. I have a strict policy that I won't write about something unless I think it's really, actually cool (I don't want to suggest you try something unless I genuinely like it), so I find myself saying "no, thanks," a lot. Meal replacement bars? Sorry, I don't write about that here. Prepared salad dressing? Pretty sure I have belligerantly railed against such preservative-filled grossness in the past. No thank you. Microwaveable frozen dishes? This is a recipe blog and I feel confident that nobody wants to read about how I used a fork to poke holes in plastic wrap and waited 4 1/2 minutes to eat some re-heated frozen lasagna.

But every now and then a company reaches out and I am reminded of how awesome this aspect of blogging is. One such email was from none other than the Tourism Department of the City of Santa Fe. They were wondering if I might like some free green Hatch chilies to cook with?

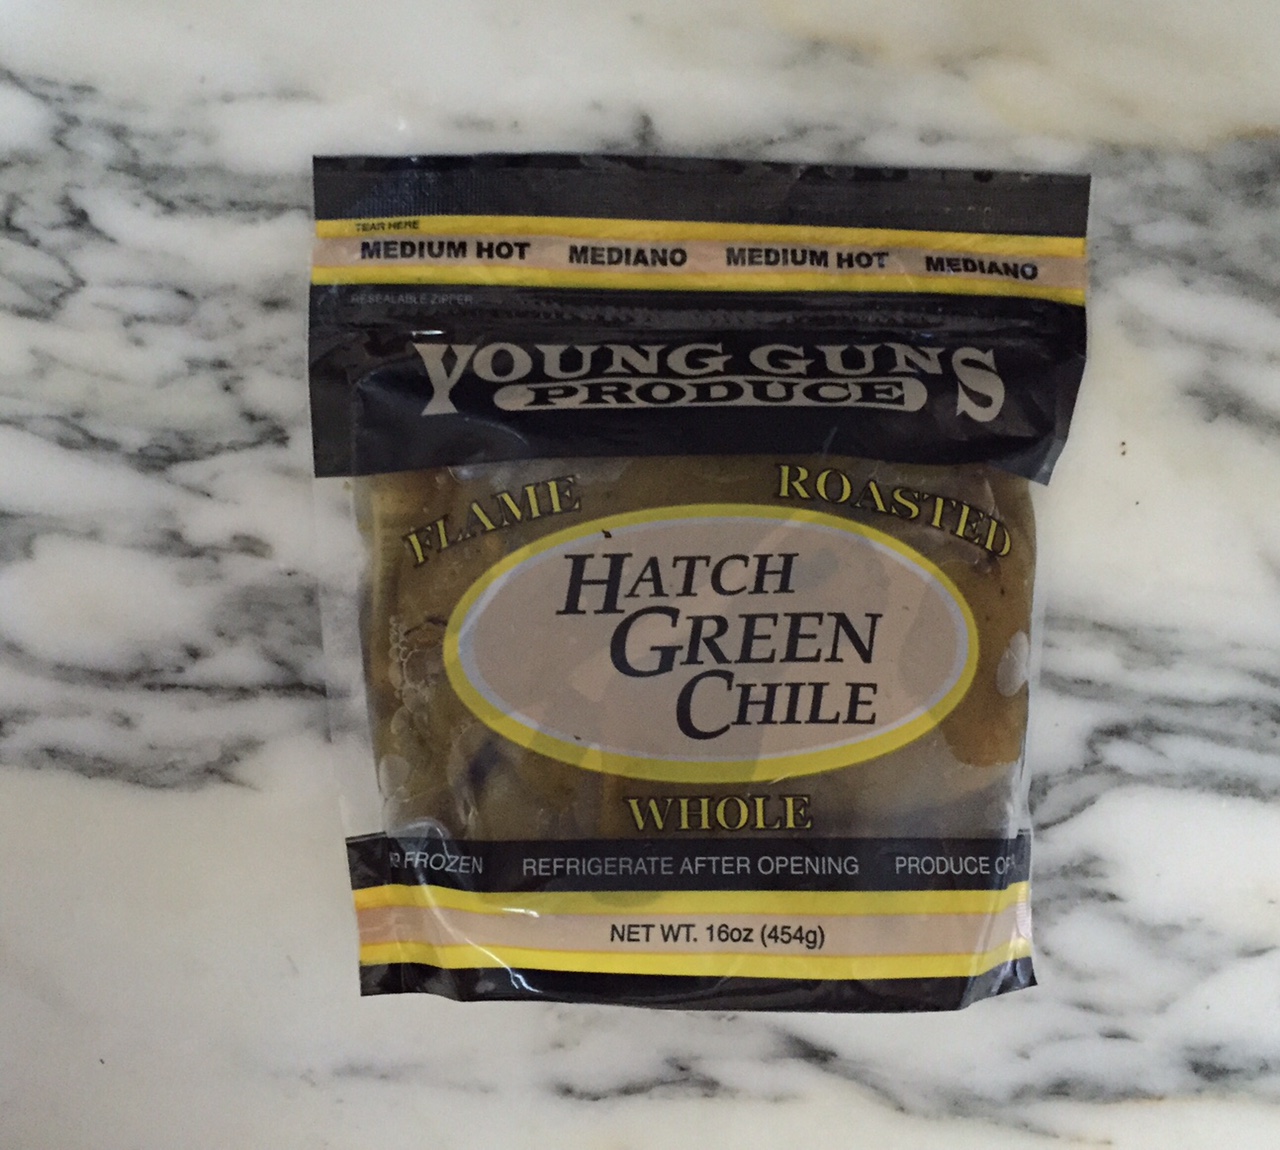
Why yes. Yes, I would

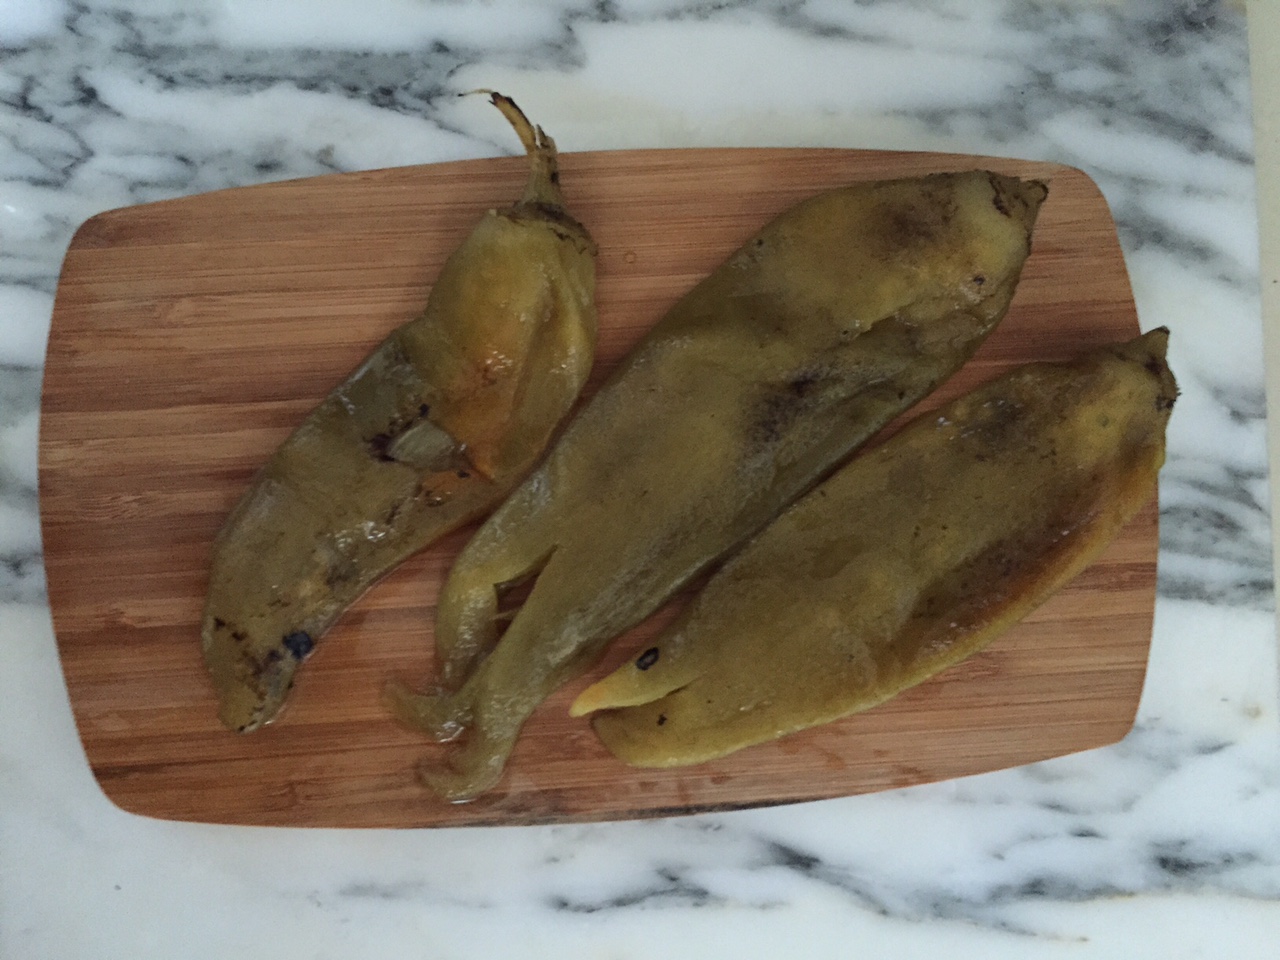
I actually first fell in love with green Hatch chilies in 2012, when Evan and I spent a romantic week in New Mexico. They're medium-spicy with just hint of sweetness, and they get roasted to bring out a lovely smoky flavor. They can be found in every New Mexican restaurant, especially in omnipresent green chile stew. 

Also popular in New Mexico is the green chile burger, often topped with cheese. There are several variations of it, some including bacon, pickled jalapeños, and caramelized onions. I'm a big fan, so I decided to make my own version

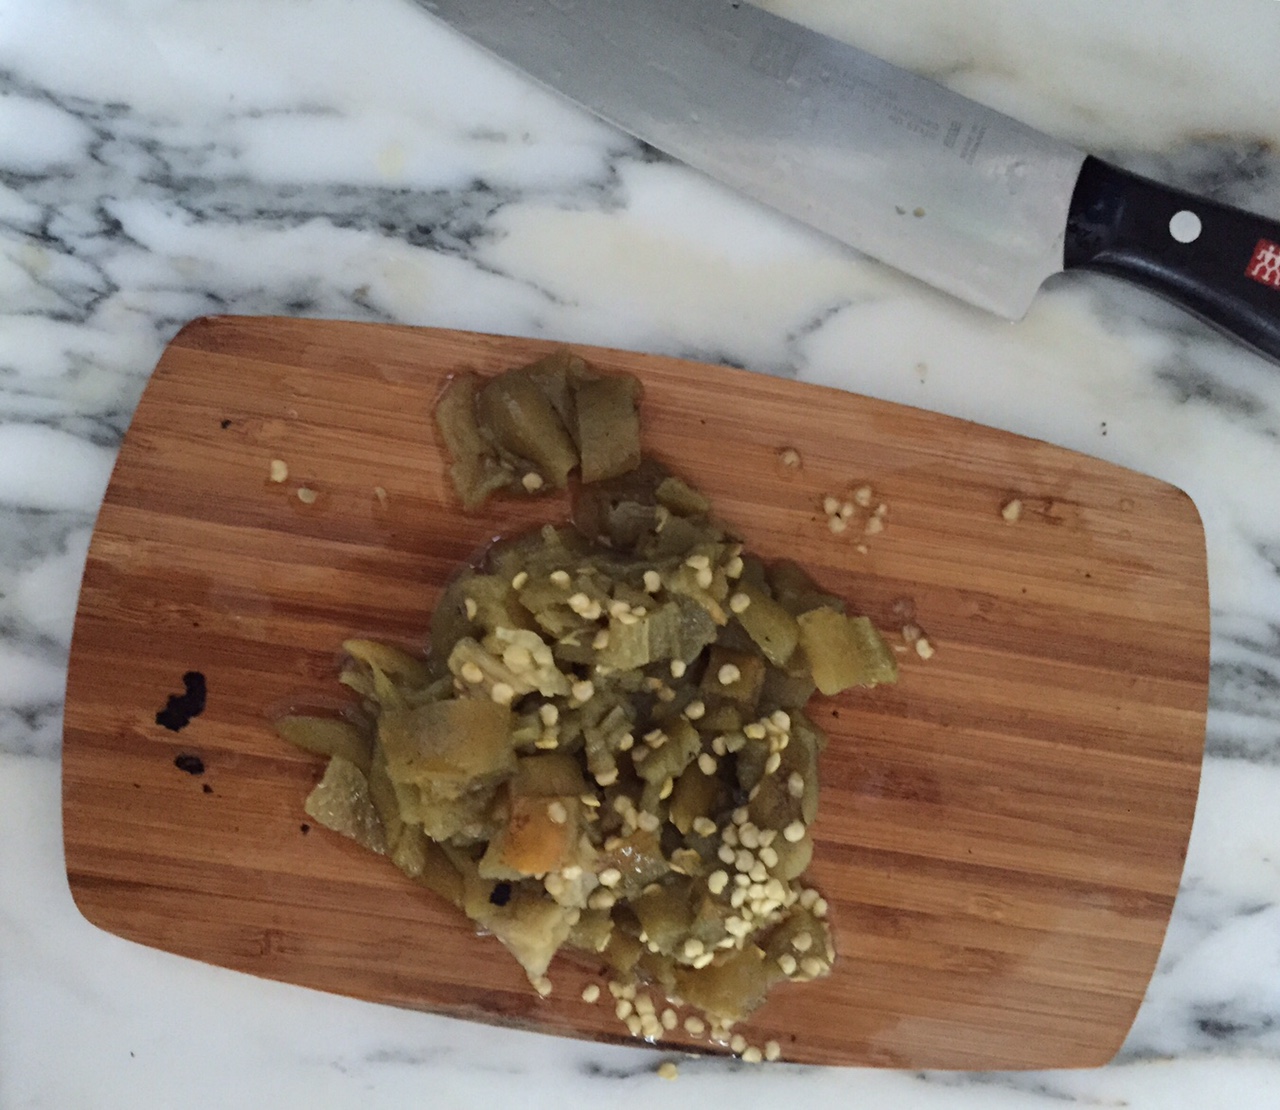
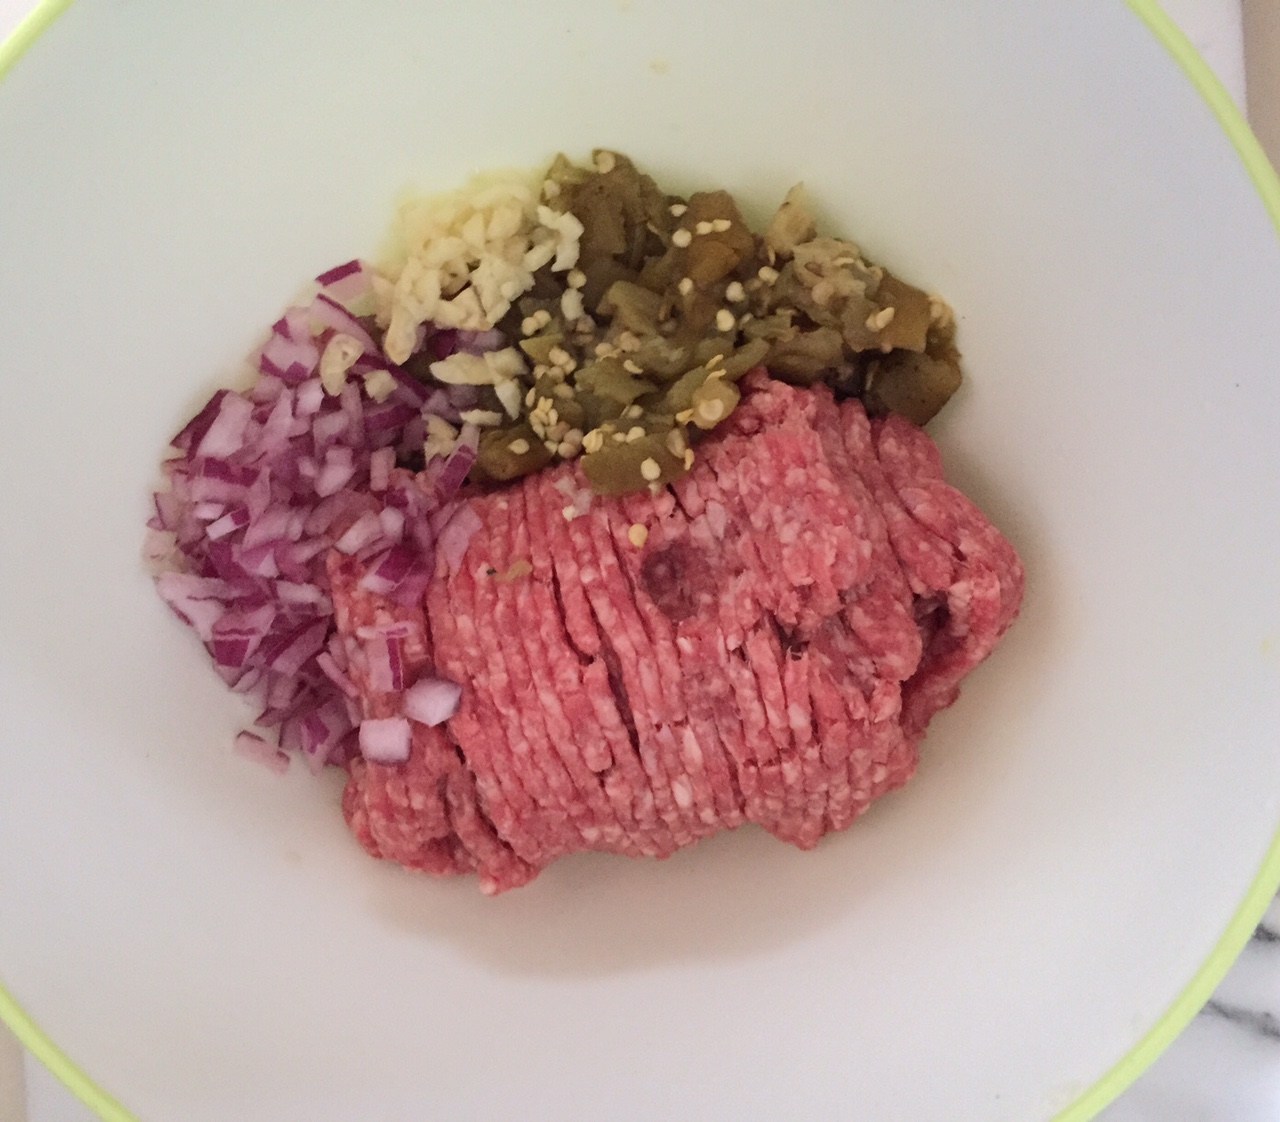
Instead of topping the burger with green chiles, I found that infusing the meat with chopped Hatch chilies, a healthy dose of garlic, and a little red onion was the best way to get intense flavor throughout the burger (and it also means that you don't have to worry about toppings slipping off or squishing out and overloading the bun). 

If, of course, you can't get Hatch chiies where you live, any other roasted green medium-heat pepper will work just fine. You can even make this with canned roasted jalapeños. Lucky me though, I had the real thing.

I kept my meat mix simple, so as to really focus on the chile flavor. Just a little garlic, onions, salt and pepper got added to the ground beef.

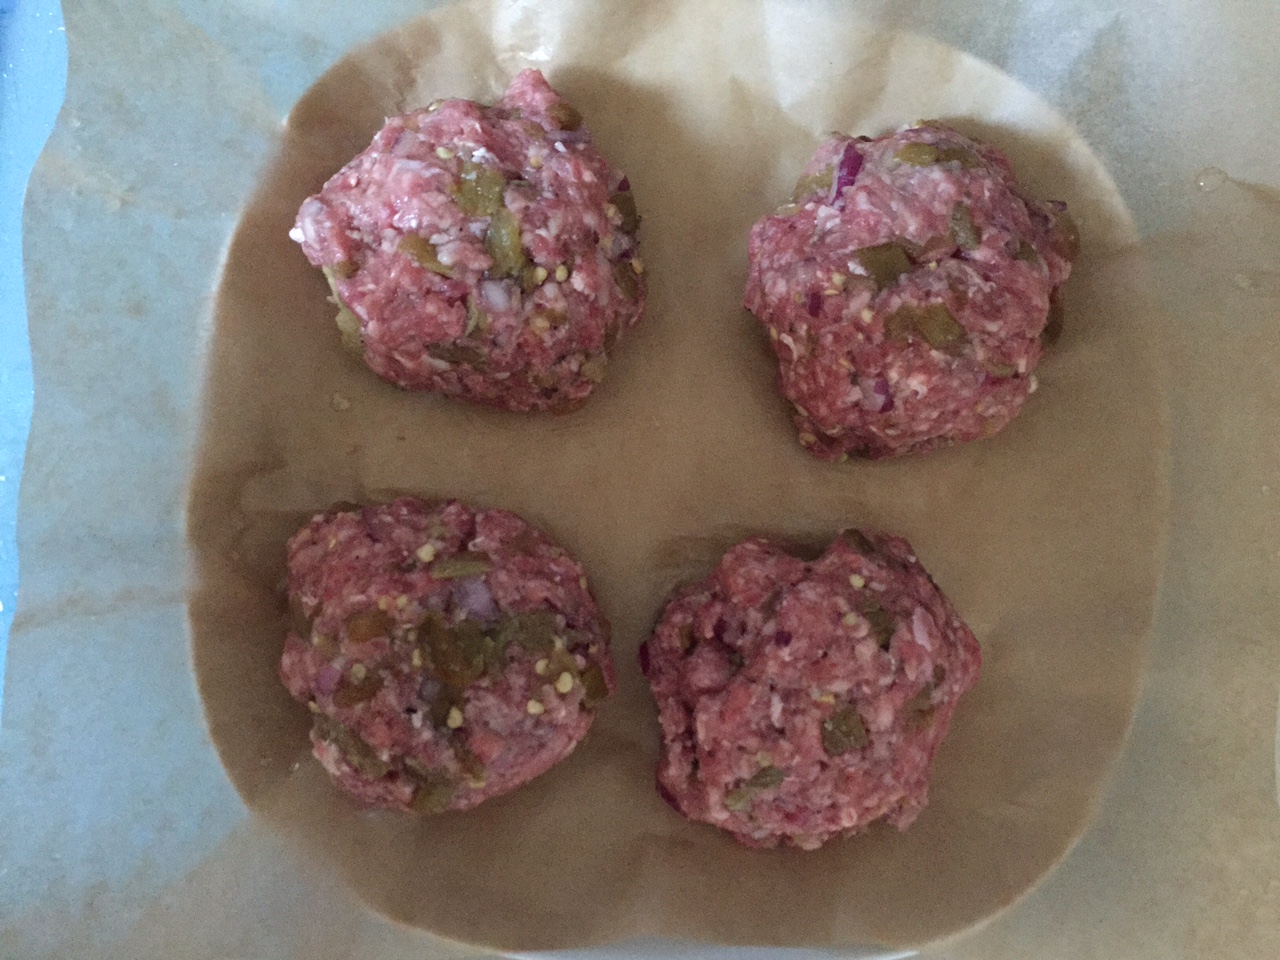
I like my burger patties on the round, thick end of the spectrum for maximum juiciness, rather than flat and thin. Go with whatever you like.

This was our first grill night of the season. The smells and sounds were unbelievable

After about 4 minutes, I gave them a flip.

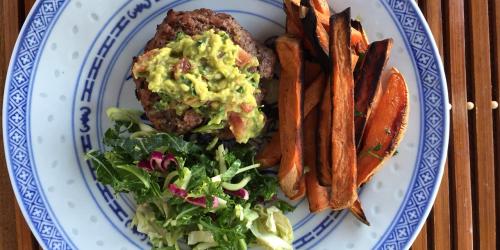
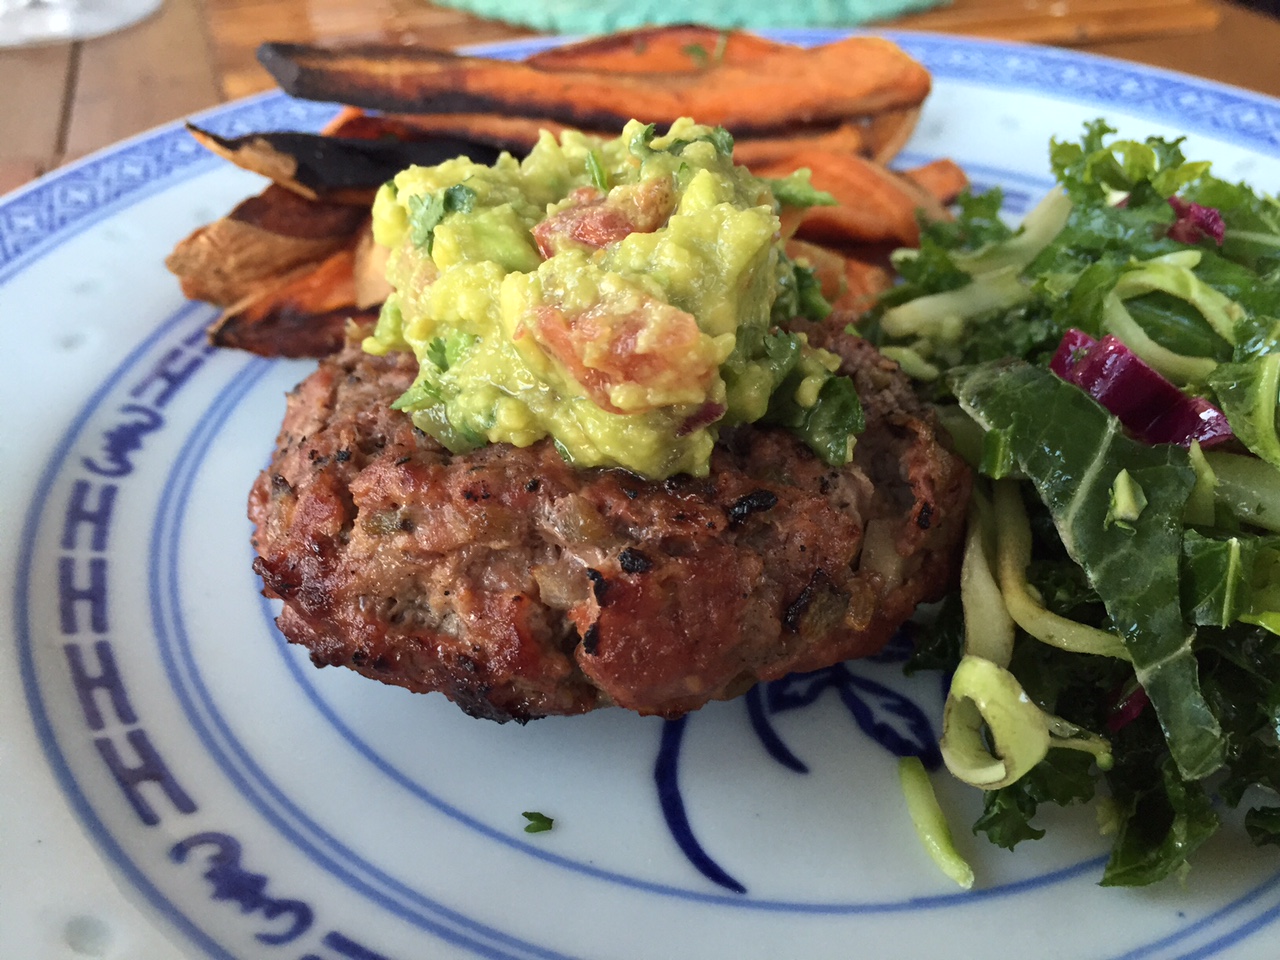
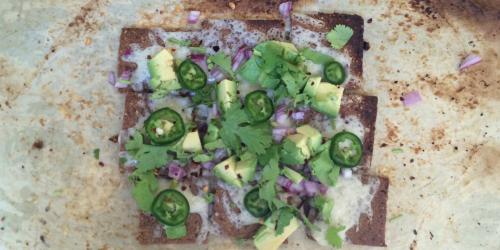
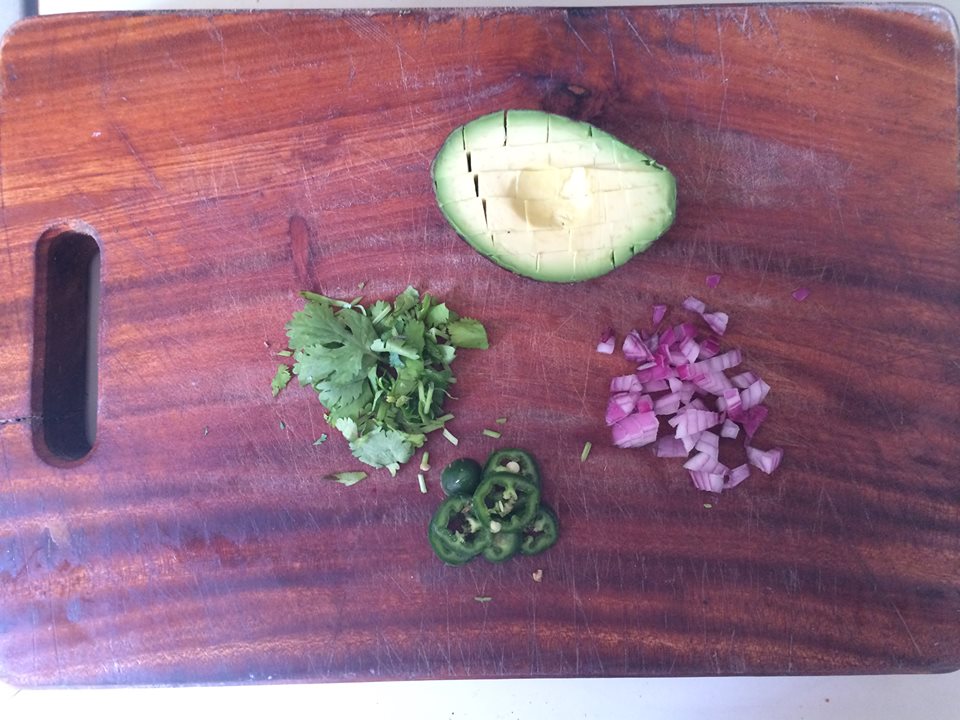
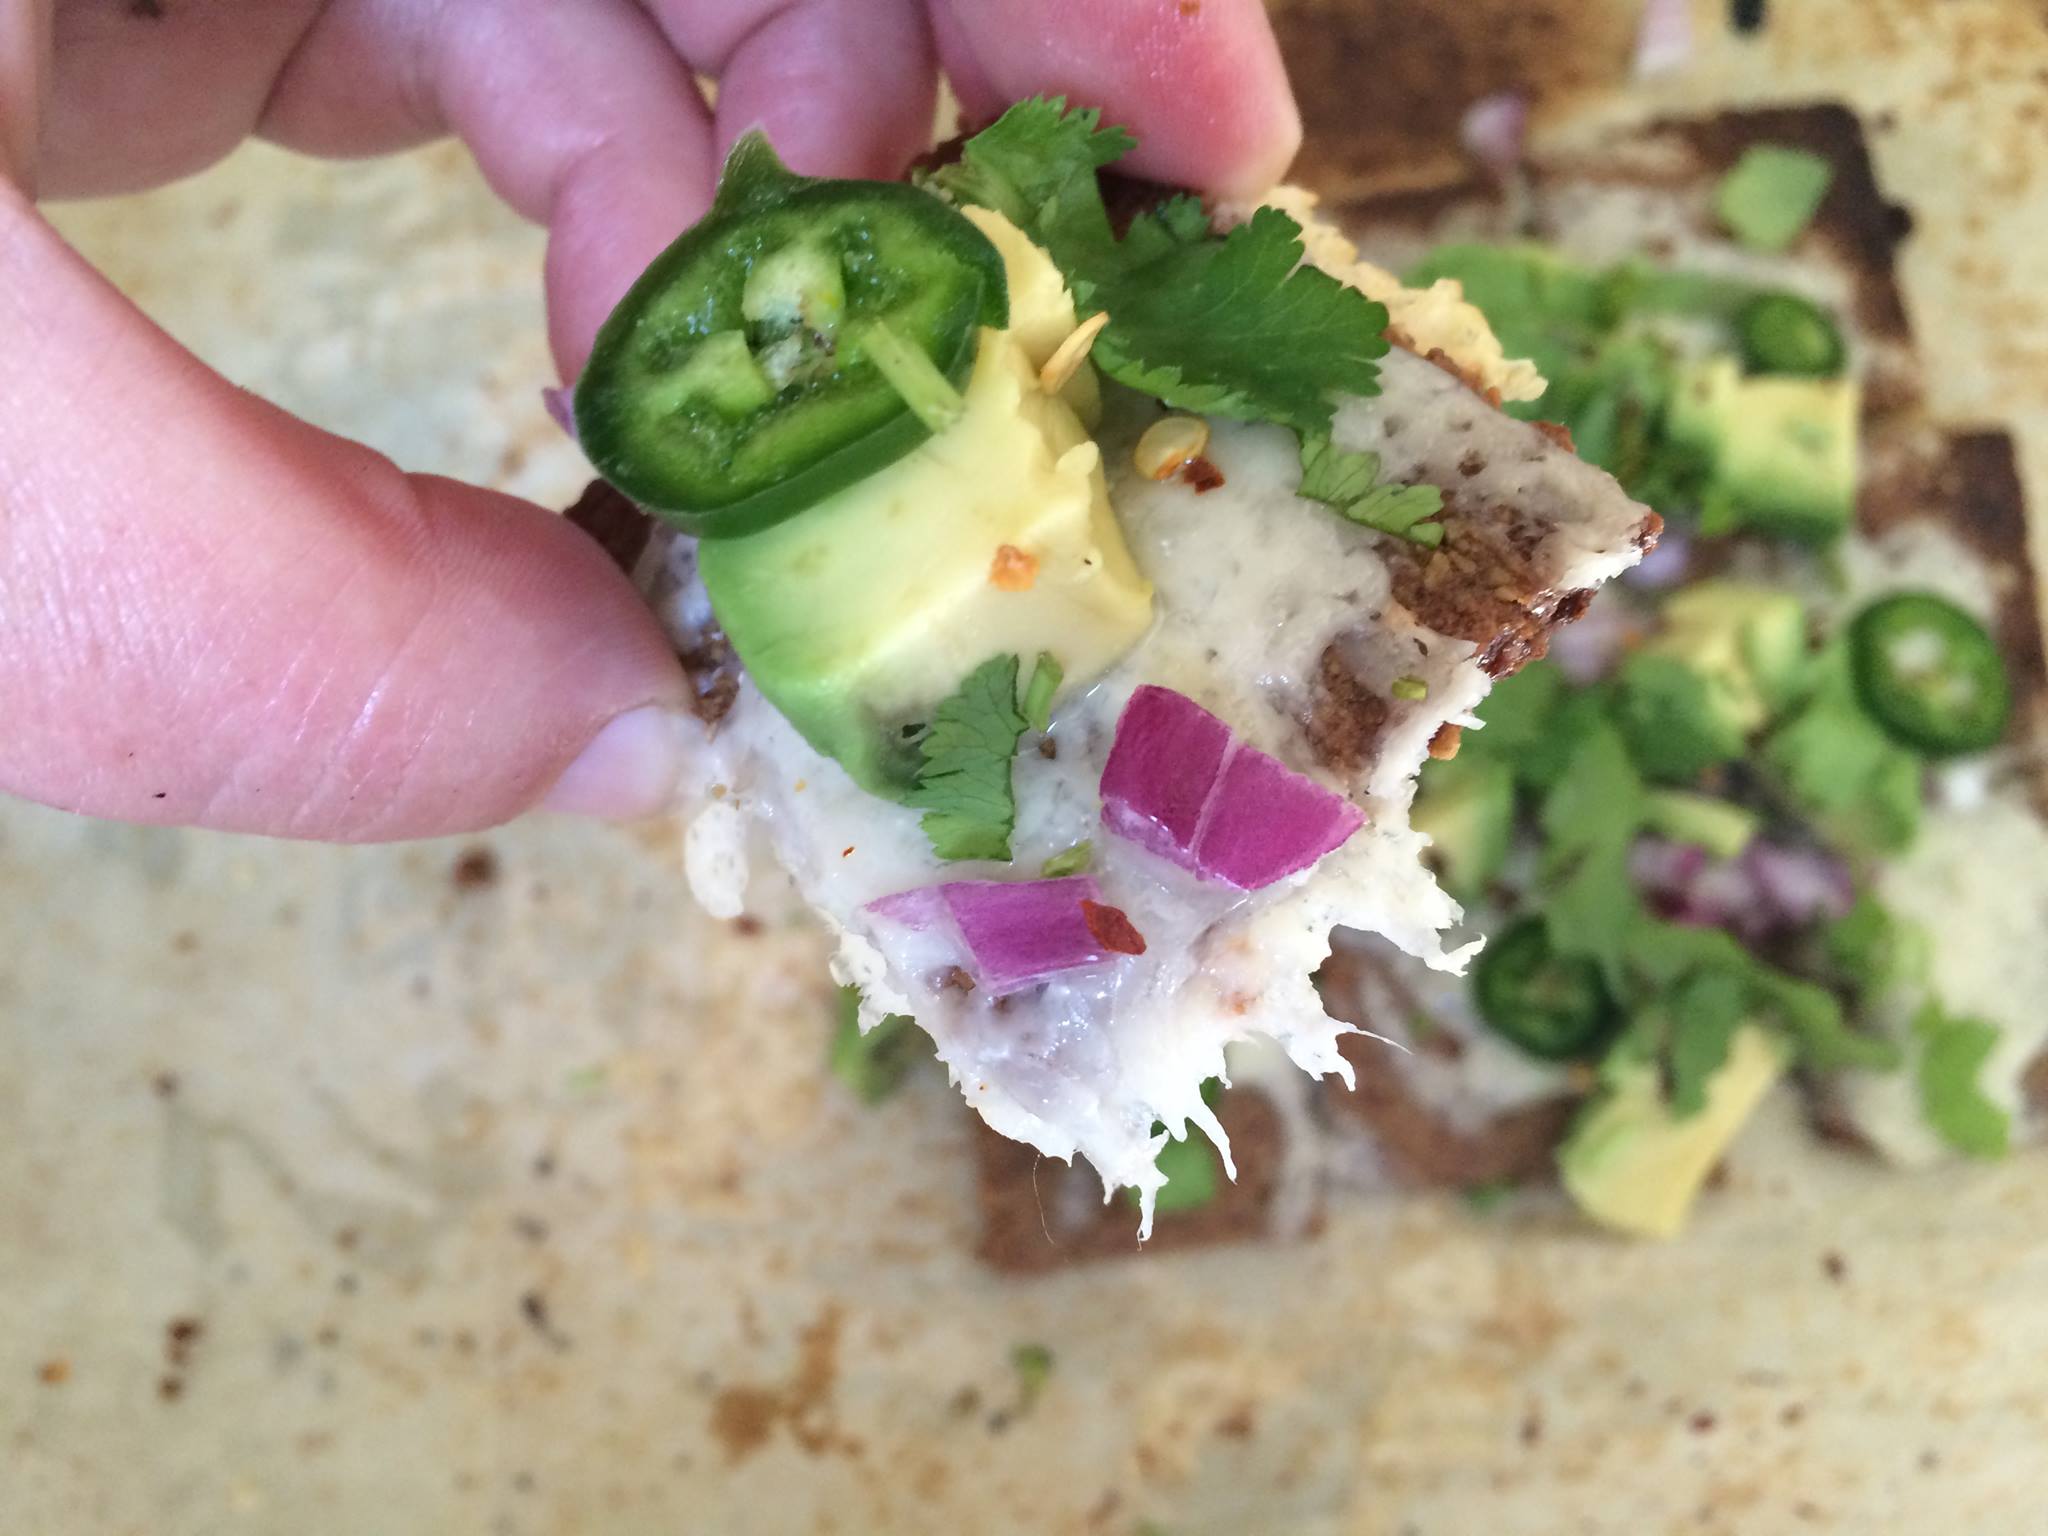
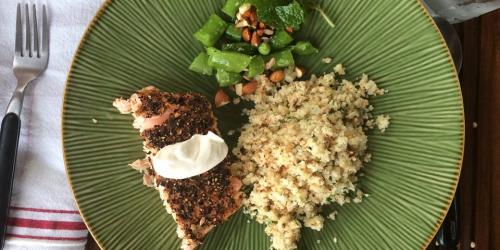
And served them topped with some homemade guacamole, alongside some oven sweet potato fries and kale salad with a perky apple cider vinaigrette.

Hello there, grill season. I am so, so ready for you.  

Ingredients

  • 3 large roasted green chiles (preferably Hatch), chopped (1/2 cup, with seeds) $3
  • 2 tablespoons chopped red onion (about 1/8 medium onion) $0.50 for a whole onion
  • 2 cloves garlic, chopped Pantry
  • 1 pound ground beef (80/20 or 85/15) $4.50
  • 1/2 teaspoon salt Pantry
  • 1/2 teaspoon ground black pepper Pantry
  • fresh guacamole Optional

Recipe Serves 4

Directions

  1. Combine all ingredients in a bowl.
  2. Form into 1/4 pound patties (I prefer them round and thick as opposed to flat and thin).
  3. Lightly grease a grill or cast iron pan and heat to medium-high.
  4. Grill for 4-5 minutes per side until slightly charred on the outside and cooked mostly through.
  5. Serve topped with the guacamole if using, either plain or on a toasted bun.

Watermelon Salad Pizza

  • Prep Time 20 minutes
  • Estimated Cost $9.50
  • 55 Comments

Watermelon feta salad is a favorite of mine. It may see weird to the uninitiated to combine creamy, salty feta cheese with juicy, sweet melon, but the stark contrast of the flavors works phenomenally well together. Just as watermelon is balanced gorgeously when served with savory grilled steak, the tang of the crumbled feta, plus some bright lemon juice for good measure and a good glug-glug of fruity extra virgin olive oil turns this classic summer snack into a positively savory salad. 

Even better, it's pretty fun to eat. 

It all starts with a seedless watermelon. You really only need half of one for this recipe, but I usually buy them whole anyway, since they're such a tasty, healthy snack to have on hand. Look for a spherical melon with a dark green rind (and make sure it's seedless--seeds are no fun to deal with in this preparation). 

This is a salad for 4 people, and each person gets his or her own "pizza," so slice the melon into 4 rounds (or more, obviously--this recipe is very easy to scale up or down).

Next, we turn our watermeolon rounds into "pizzas." This happens magically, by slicing each one into 6 triangular slices and placing it on a plate. See? It's basically a pizza.

Then a light layer of thinly sliced red onions gets scattered over each slice. Feel free to go extra-light on the onions if you're not a fan.

Then do the same with that creamy, crumbled feta cheese. Remember to get every slice so each bite has a little of everything.

Next, some mint leaves, for freshness.


And finally a squeeze of fresh lemon juice, a drizzle of good extra virgin olive oil, some black pepper, and a tiny touch of salt. 

It's pizza time.

 OK, fine, It's watermelon salad pizza time.

Still pretty damn good. 

Ingredients

  • 1/2 medium seedless watermelon (7-8 inches in diameter, end removed) sliced into 4 1 1/2-thick rounds $3.50
  • 1/6 medium red onion, thinly sliced $0.50 for a whole onion
  • 4 ounces creamy Greek, French, or Bulgarian feta cheese, crumbled $4
  • 1 handful fresh mint leaves $1 for a bunch
  • juice of 1/2 lemon $0.50 for a whole lemon
  • 4 tablespoons extra virgin olive oil Pantry
  • freshly ground black pepper Pantry
  • salt Pantry

Recipe Serves 4

Directions

  1. Cut each watermelon round into 6 triangular slices, as if cutting a pizza.
  2. Arrange the slices in a circle on 4 dinner plates, so it looks like you have 4 pink pizzas.
  3. Top each "pizza" with the red onions, making sure to get some on each slice.
  4. Scatter the feta over each pizza, making sure it is is distributed evenly to each slice.
  5. Do the same with the mint, scatteing it over the slices, making sure there is at least one leaf on each slice.
  6. Drizzle the "pizzas" with the lemon juice and the olive oil.
  7. Top with cracked black pepper and the tiniest sprinkle of salt (the feta is quite salty, so it only needs the tiniest touch of salt).
  8. Serve immediately.

Seed Cracker Nachos

  • Prep Time 5 minutes
  • Cook Time 4 minutes
  • Estimated Cost $7
  • 46 Comments

I don't love the subject of diets. I firmly believe that moderation is the key to everything, including health and fitness, and that food is meant to be enjoyed. 

And yet, here I am, very, very excited about my latest culinary invention: a low-carb, primal-approved, gluten-free take on nachos. Maybe it's because I am passionate about seeds?

(More likely, it's because it's a way for me to eat nachos more frequently.)

Nachos are a favorite of mine. I have reinvented them before, and I'm sure I'll do it again. Today's version calls for a few of my Simple Seed Crackers, or any other prepared all-seed cracker.

I push 9 of them into a square in the middle of a parchment-lined baking sheet (the one I used to bake the crackers works just dandy).

I grate up a little cheese (in this case, I used some English Coastal Cheddar from Trader Joe's, since it's what I had on hand).

And sprinkled it on the crackers.

A quick trip under the broiler gets the cheese nice and melty (and only minimally toasts the crackers--baking it would be too much).

Then I go nuts with toppings. 

Cheesy, spicy, nacho-y goodness, that's seedy in all the right ways.


Ingredients

  • Simple Seed Crackers or other seed-only cracker (I've heard good things about these) $3.50
  • 1/4 cup shredded cheddar or jack cheese $3.50 for 8 ounces
  • your favorite nacho toppings (chopped tomato, cilantro, chopped red oinons, sliced scallions, sour cream, plain yogurt, black oilives, sliced jalapeños, red chili flakes, etc) optional

Recipe Serves 1

Directions

  1. Preheat the broiler to high.
  2. Make sure the crackers have had time to cool before assembling the nachos.
  3. Arrange the crackers in a square (3 rows of 3, as pictured) in the middle of a parchment-lined baking sheet.
  4. Sprinkle the grated cheese over the crackers, distributing evenly.
  5. Place the crackers and cheese under the broiler just until the cheese melts, 3-4 minutes (check after 2 minutes).
  6. Serve immediately, or top the cheesy crackers with the toppings of your choice and then serve. 

Cauliflower Tortillas

  • Prep Time 15 minutes
  • Cook Time 22 minutes
  • Estimated Cost $6
  • 138 Comments

The cauliflower rice I posted last week has been a total gamechanger for my dinner-making. So far I've repurposed it as risotto and fried rice, and also eaten it raw, in a salad, as if it were a cold cooked grain. Starchy, yet miraculously low-carb, fiber-loaded cauliflower is such a versatile, tasty vegetable. 

I recently heard about cauliflower tortillas, and knew I had to try them. 3 perfect batches later, I can attest, this recipe is phenomenal.

Whether you're into eating paleo or primal, or you are just looking for a way to get more fiber and vegetables into your diet, these tortillas are a must-try.

The process does require a fair amount of steps, but they're all easy to do, and quick to clean up.

It starts with putting some chopped up cauliflower into a food processor, just as you would with the cauliflower rice (you could also use a food mill, or the finest edge of a cheese grater).

Next, you puree it until it looks like a crumbly dough -- even finer than you would for cauliflower rice. 

Then the cauliflower paste gets a quick steam in the microwave.

Let cool for a few minutes, then dump the steamed cauliflower puree onto a clean cheesecloth or a clean, thin dish towel.

Then, as if making ricotta, gather the cheesecloth or dish towel together into a bundle to squeeze out the cauliflower liquid (be very careful as it will likely still be hot. Use a second, dry dish towel to protect your hands if necessary).

 And then stirred together with 2 beaten eggs and a pinch of salt. 

With very wet hands, make a ball using 1/6 of the cauliflower mixture.

Then, it gets flattened into a 6-inch circle on a parchment-lined baking sheet (the parchment is VERY important!).

After repeating with the remainder of the dough, the cauliflower rounds get popped into the oven. 

After 12 minutes of baking, they get flipped and go back in for another 10.

Finally, after being twice-baked, the tortillas, which are pretty firm at this point, get pan-cooked in a dry frying pan, just to char them a bit, crisping their edges.

The resulting tortillas are soft with crisp edges, pliable, and sturdy enough to stand up to your favorite tortilla fillings.

They even bend, just like regular tortillas! 

I made a gorgeous quesadilla with two of them.

Utterly delicious. 

Ingredients

  • 1 small or 3/4 large cauliflower, chopped into small chunks $3.50
  • 2 eggs, lightly beaten $2.50 for 6
  • pinch of salt Pantry

Recipe Serves 2-3

Directions

  1. Preheat the oven to 375 degrees F.
  2. Puree the cauliflower in a food processor until it resembles a crumbly dough (puree more than you would for cauliflower rice). If you don't have a food processor, use the finest side of a cheese grater.
  3. Scrape the pureed cauliflower into a bowl and microwave on high for 2 minutes.
  4. Remove from the microwave, stir well, and then return to the microwave for another 2 minutes. 
  5. Let cool for 5 minutes.
  6. Lay a clean, thin dishtowel or 2 layers of cheesecloth on a cutting board, and dump the pureed cauliflower into the middle of it.
  7. Carefully gather the cloth into a bundle and squeeze the excess liquid out (do this over the sink). Be very careful, as the cauliflower may still be very hot. Use a second dry towel or cloth to protect your hands if necessary.
  8. Dump the squeezed-out cauliflower into a bowl, and stir in the eggs and salt. Work quickly so you don't scramble the eggs.
  9. Line a baking sheet with parchment paper (don't skip this step!).
  10. Wet your hands and form a ball with 1/6 of the cauliflower mixture (do this near a sink or keep a bowl of water nearby--you're going to keep wetting your hands as you make the tortillas).
  11. Press the ball of cauliflower mixture onto the parchment and use your wet hands to gently flatten it into a 6-inch circle. 
  12. Repeat with the remaining mixture to make 6 total circles.
  13. Bake for 12 minutes, unti somewhat firm.
  14. Gently flip the circles and return to the oven for 10 minutes.
  15. Heat a large nonstick or cast iron frying pan over medium-high heat. 
  16. Working in batches, cook the tortillas for 30 seconds per side to get them charred like traditional corn tortillas. 
  17. Store any cooled, unused tortillas in a zip-top plastic bag in the refrigerator. They will keep for up to a week. 

Cauliflower Rice

  • Prep Time 2 minutes
  • Cook Time 8 minutes
  • Estimated Cost $3.50
  • 23 Comments

If you are into eating gluten-free, paleo, primal, low-carb, or just lots of vegetables, this "rice" is a miracle. A tasty, tasty miracle.

At just five grams of net carbs per serving (that's carbohydrates grams minus fiber grams), and the fluffy, grain-like deliciousness of a cooked grain, plus the powerhouse nutrition that is cauliflower, it's pretty hard to beat. Also, unlike regular rice, which usually takes at least 20 minutes to cook, this is ready in about 10. And if you have a food processor? Couldn't be easier. 

It starts out like this.

That's right. It's cauliflower. Don't be scared, please. Stay with me.

Once the leaves have been removed, it gets chopped up. All of it. Even the tough inner core, which we normally remove.

Next, it goes for a spin in the food processor. 

Until it looks like this.

Next, it goes into a pan with a little olive oil and garlic (optional).

A shower of freshly chopped herbs and some salt and pepper is all it needs to be plate-ready.

I am so, so excited about this one. I can't wait to stir in some ricotta and Parmesan to make a lightened-up risotto, or to cook it with peas, carrots, scrambled eggs, ginger, and soy sauce or tamari, for a healthy fried rice. 

Have you made cauliflower rice before? Any tips or flavor combination suggestions? Let me know! 

Ingredients

  • 1 head cauliflower $3.50
  • 1 tablespoon extra virgin olive oil Pantry
  • 3 cloves garlic, chopped optional
  • 1 handful cilantro or parsley, chopped optional
  • 1/4 teaspoon each salt and pepper (or more to taste) Pantry

Recipe Serves 4

Directions

  1. Remove the cauliflower's outer leaves and chop it into chunks (no need to remove the inner core--just cut it up along with the florets).
  2. Place the chunks in a food processor.
  3. Pulse until the cauliflower resembles a fine grain. You may need to work in batches if your food processor is on the small side.
  4. Heat 1 tablespoon extra virgin olive oil in a large frying pan over medium-high heat.
  5. Add the garlic and cook for about 30 seconds, just until fragrant.
  6. Add the cauliflower rice and stir well to distribute the garlic.
  7. Cook for 7-8 minutes, or until the cauliflower rice is lightly browned in patches.
  8. Stir in the chopped cilantro or parsley as well as the salt and pepper. 
  9. Serve hot.