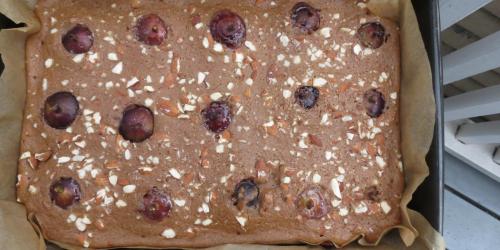
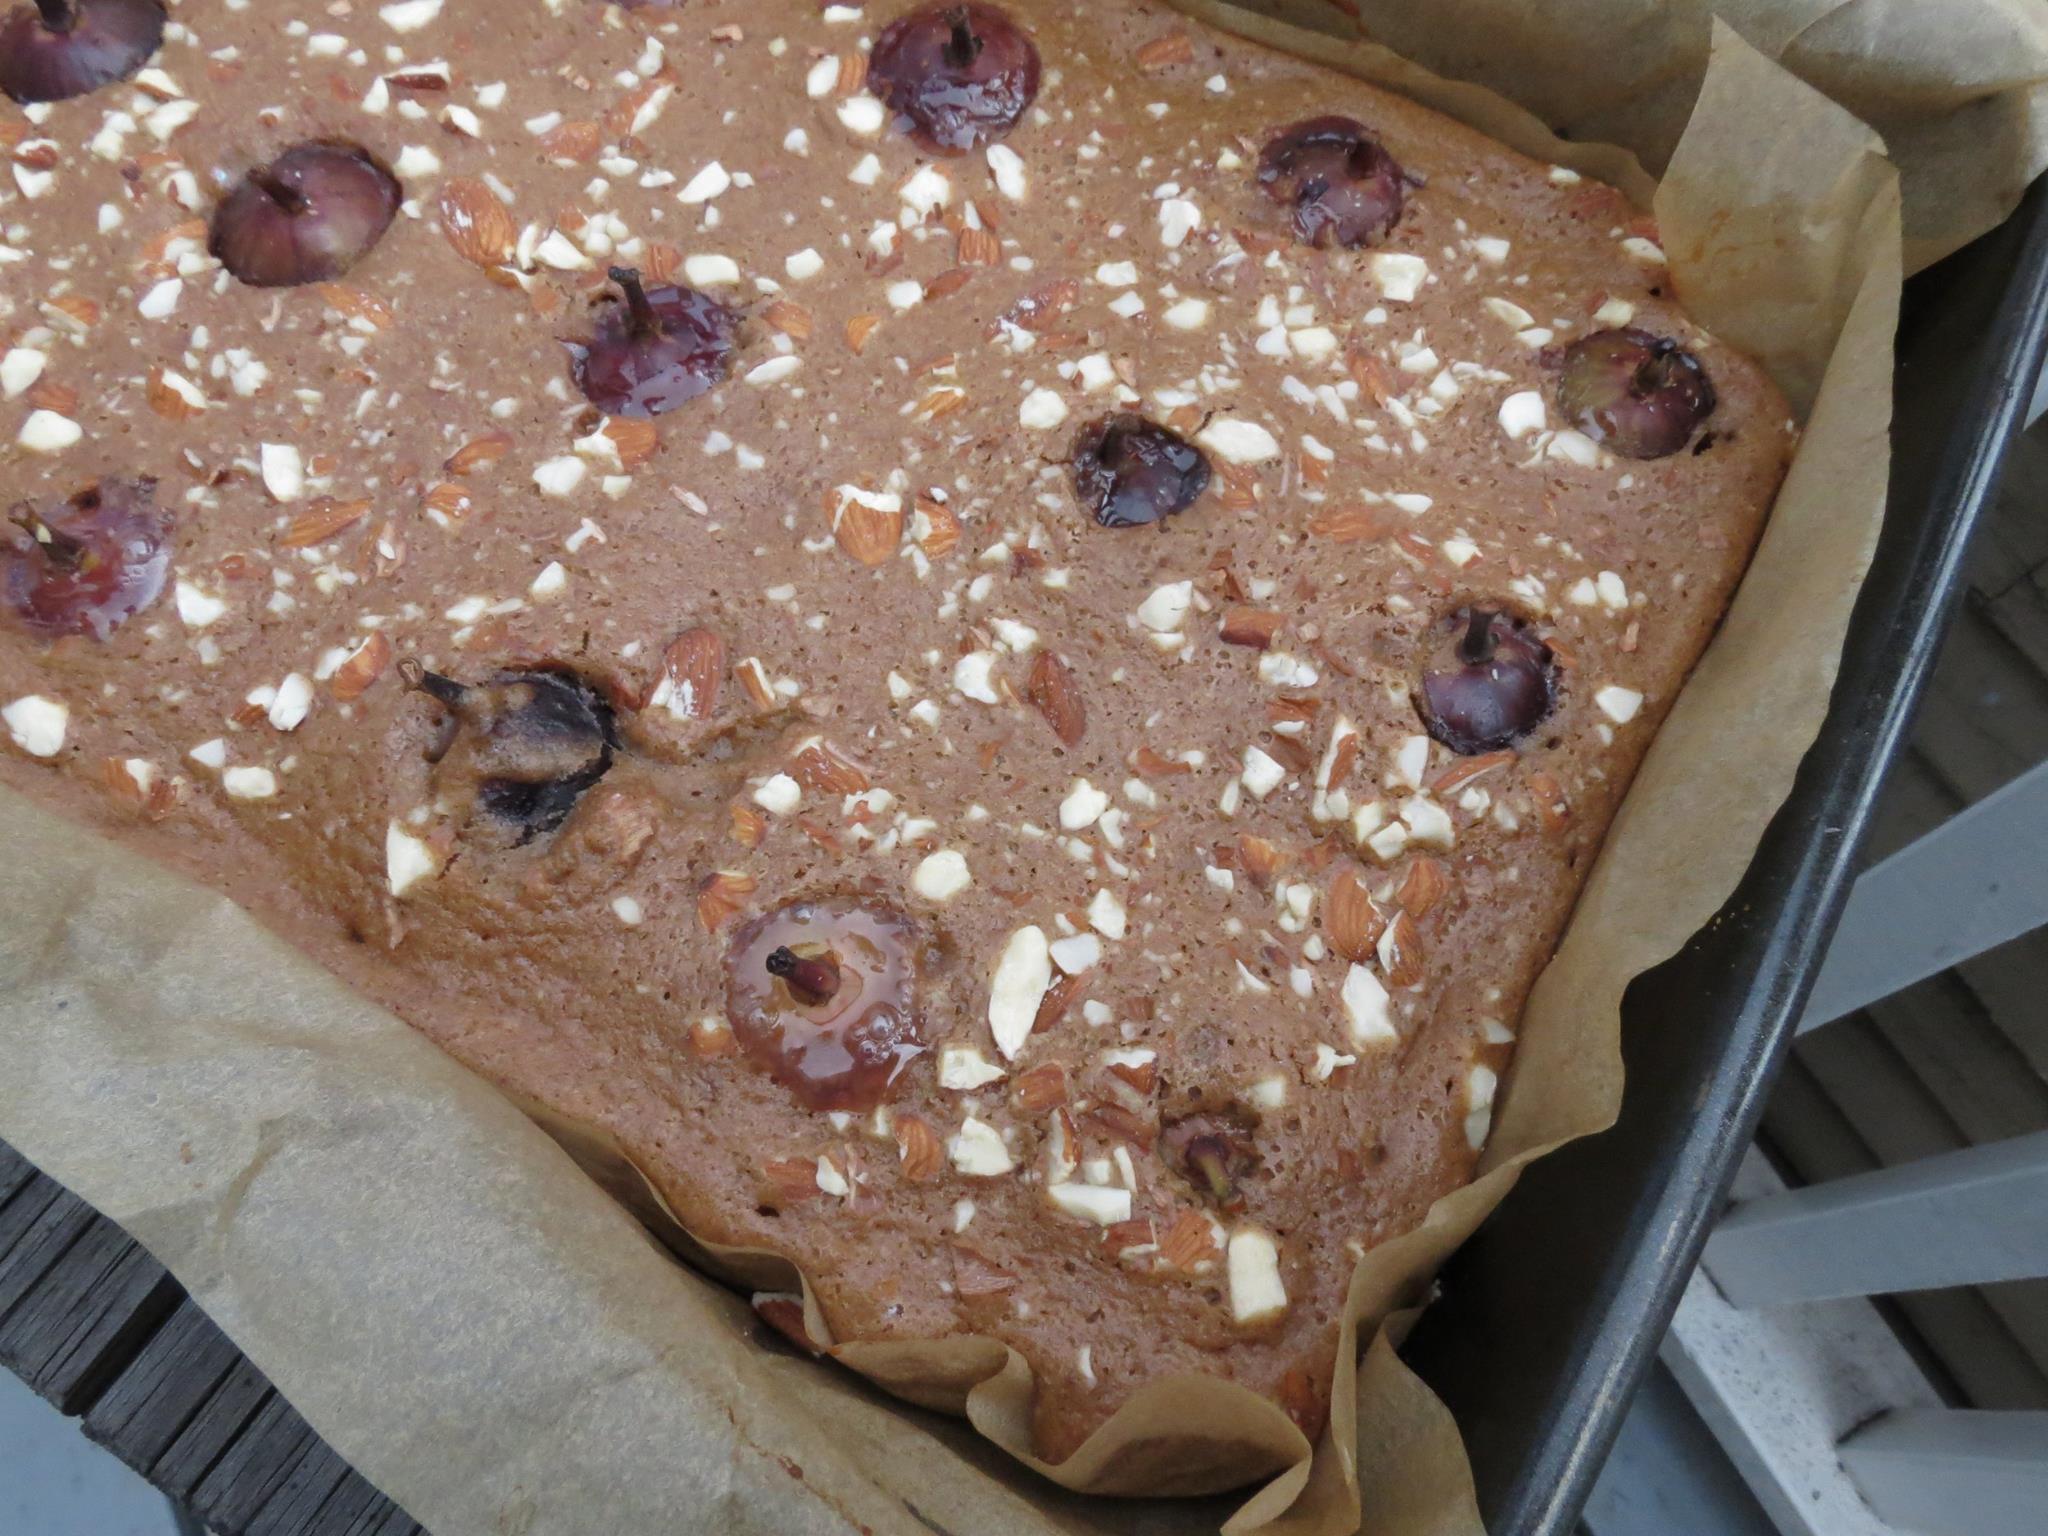
Since the figs are baked whole, they turn jammy and sweet inside, and every bite of tender cake is met with a taste of that figgy goodness.
The first time I had Rosh Hashanah honey cake (and the next several therafter), I was not impressed. So often, it had a dry, crumbly texture, and a cloying aftertaste. This never seemed right to me, especially for a dessert intended to symbolize the sweetness of a new year.
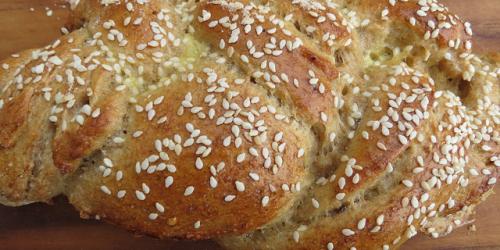
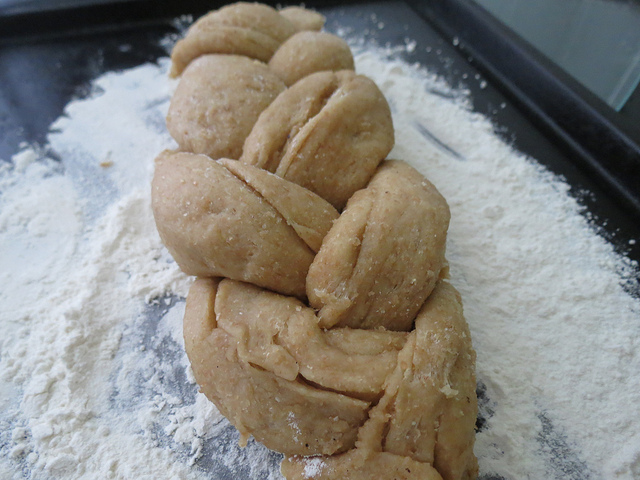
This year, I have decided, our Rosh Hashanah dinner is going to be the most delicious yet. I have the sauce for my Jalapeño-Honey Chicken all ready to go, and my Olive Oil Challah dough has been prepared and needs only to be braided into a sweet, round loaf, and baked to golden-brown perfection. With a meal that good, there's no way I'm finishing things off with a crappy, dry cake, tradition or not.
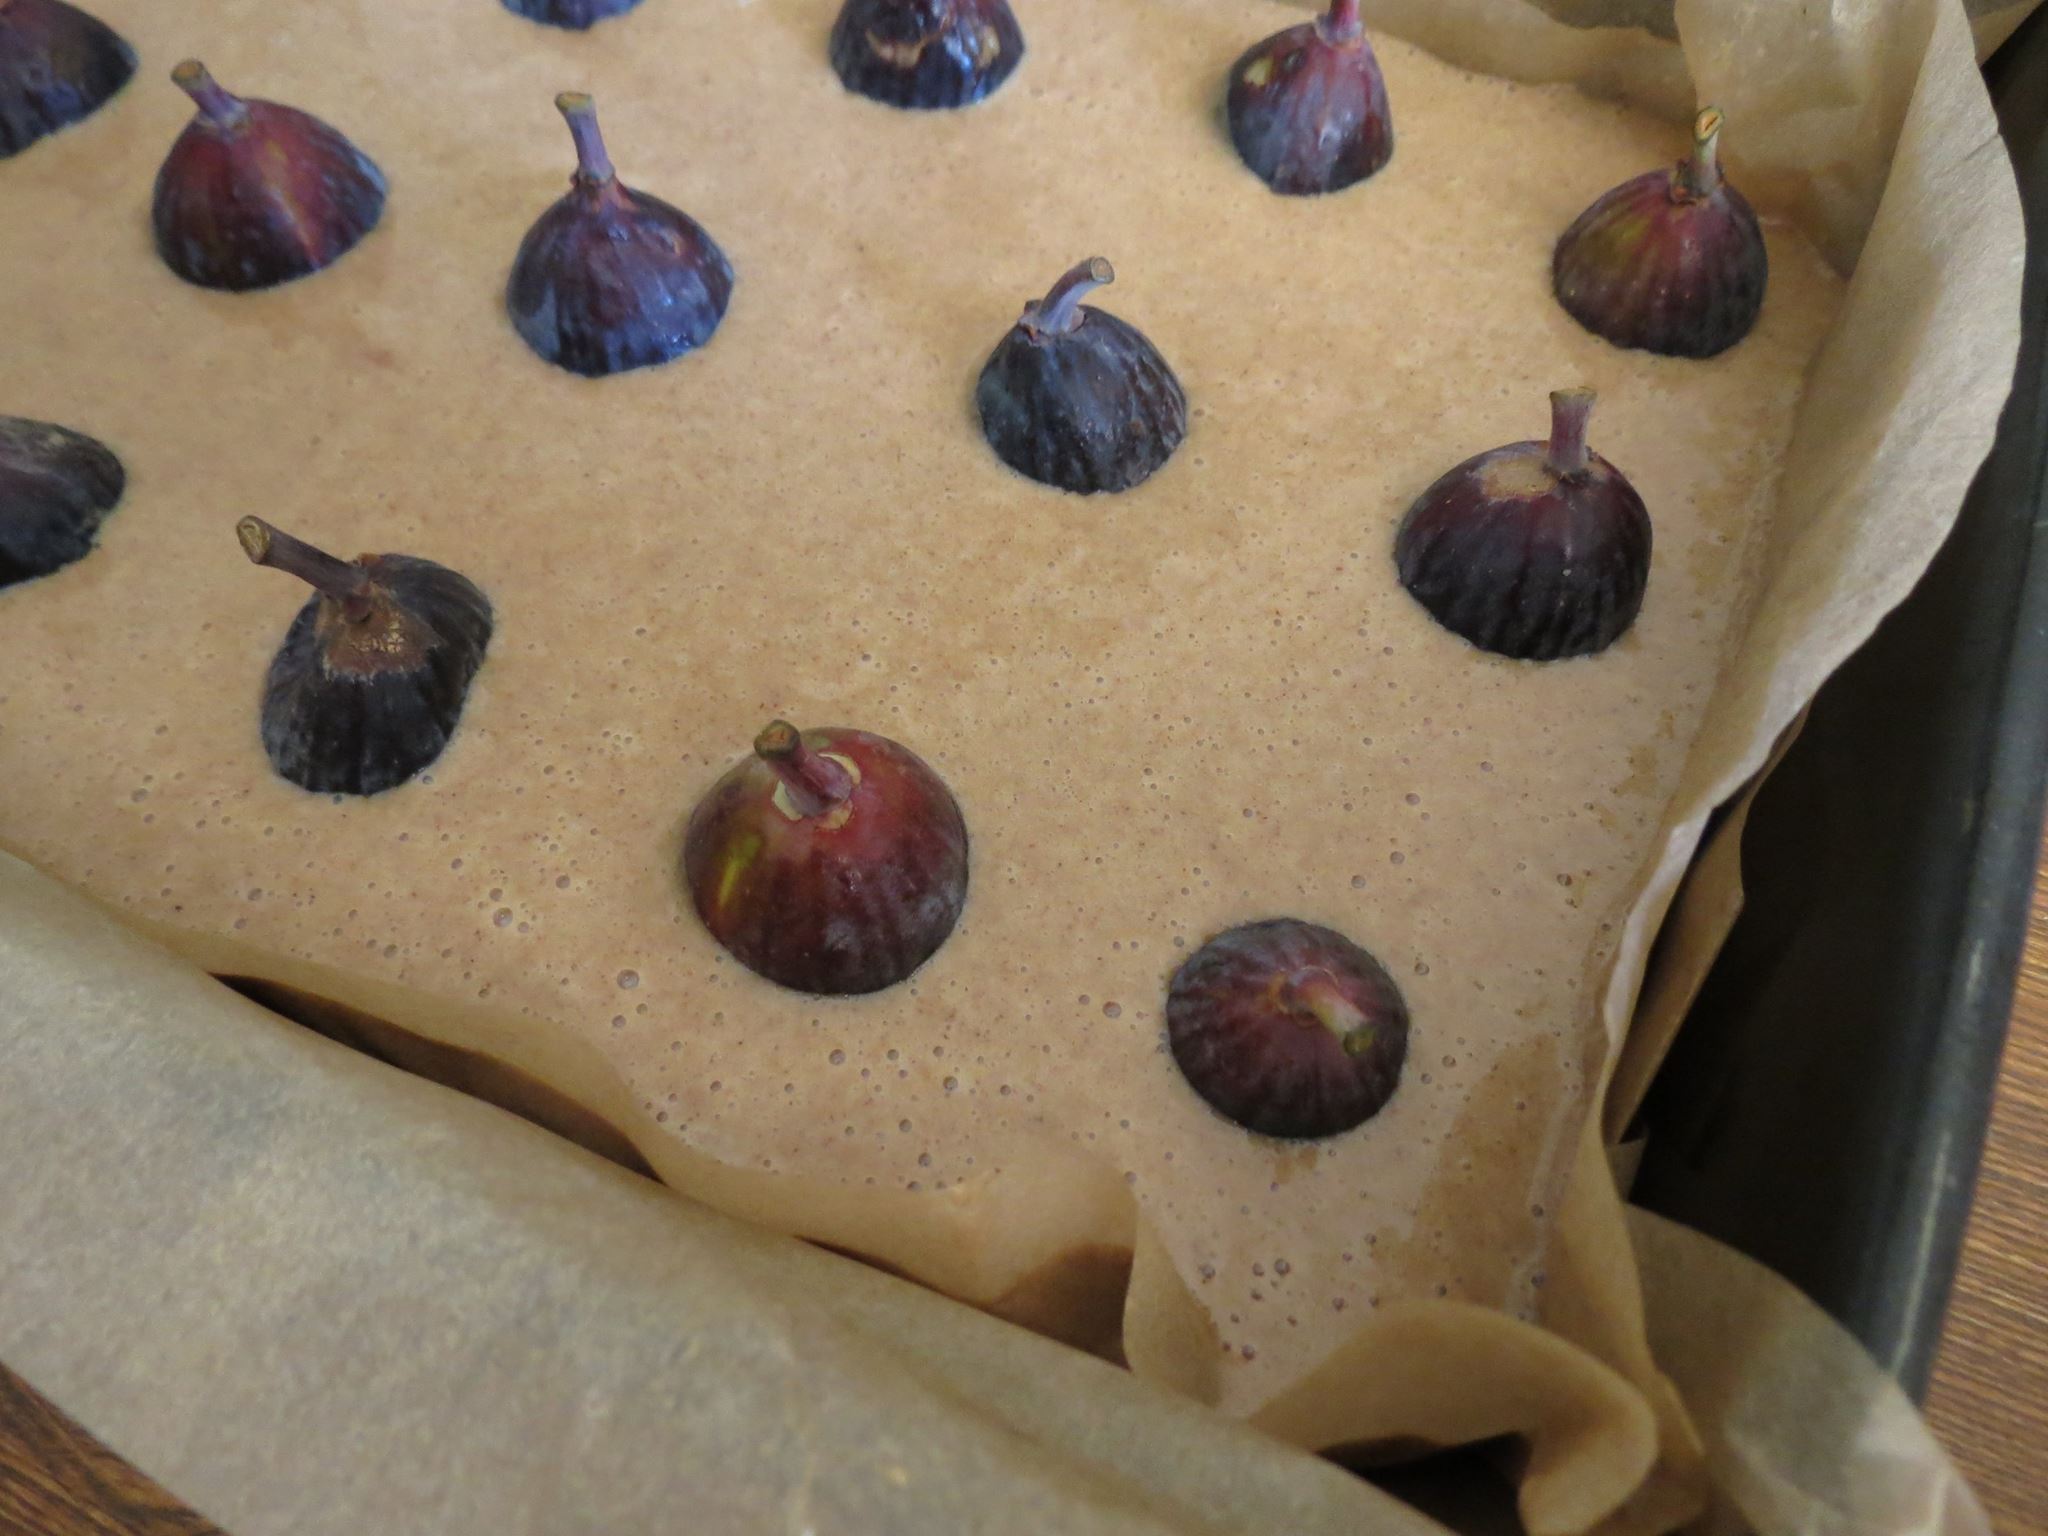
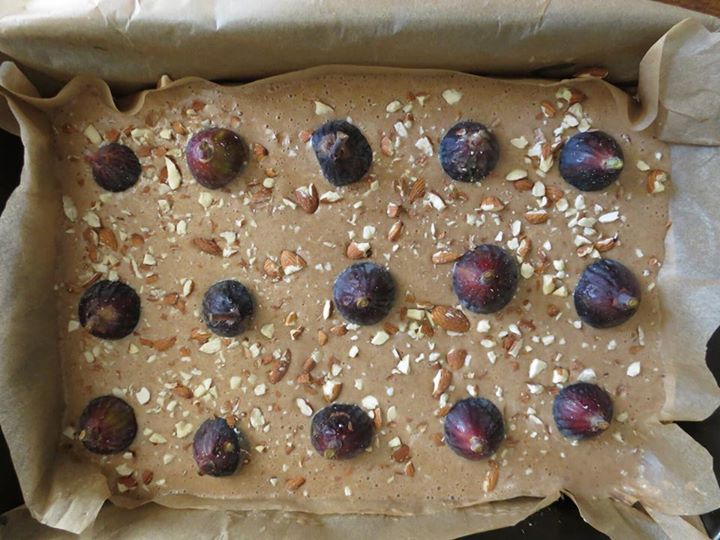
I made this cake crazy moist with eggs, oil and a healthy dose of unsweetened applesauce. Just to make sure that every bite is rich and sweet and flavorful, I plopped fresh figs (Black Mission ones make for a dramatic presentation) into the cake batter (I left the stems in for a little extra drama).
Finally, I topped the whole thing with chopped almonds, which toast up gorgeously in the oven as the cake bakes.
Since the figs are baked whole, they turn jammy and sweet inside, and every bite of tender cake is met with a taste of that figgy goodness. This is a perfect end to any Fall meal, and would be amazing with a scoop of vanilla ice cream alongside. That said, you could probably also get away with serving this with coffee and calling it breakfast.
However you serve it, if you're celebrating Rosh Hashanah tonight, I hope your new year is delicious and sweet and a little bit quirky--just like this cake.
Ingredients
- 3 tablespoons neutral-tasting oil, such as vegetable or grapeseed Pantry
- 3/4 cup strong brewed coffee, brought to room temperature $1.50
- 3 eggs $1.50 for 6
- 1 cup unsweetened apple sauce (you can make it yourself with this recipe--just leave out the orange and cardamom) $2.50 for 12 ounces
- 3/4 cup brown sugar Pantry
- 3/4 cup honey Pantry
- 2 1/4 cups flour Pantry
- 3/4 teaspoon baking powder Pantry
- 1/2 teasoon baking soda Pantry
- 1/2 teaspoon salt Pantry
- 2 tsp. cinnamon $1.50 for 1 ounce
- 12 fresh whole figs (any kind--I used Black Mission figs) $4
- 1/3 cup chopped almonds Optional
Recipe Serves 12
Directions
- Preheat oven to 325 degrees F.
- Line a 9x13 baking pan with parchment paper (trim with scissors as needed),, a little oil or use cooking spray.
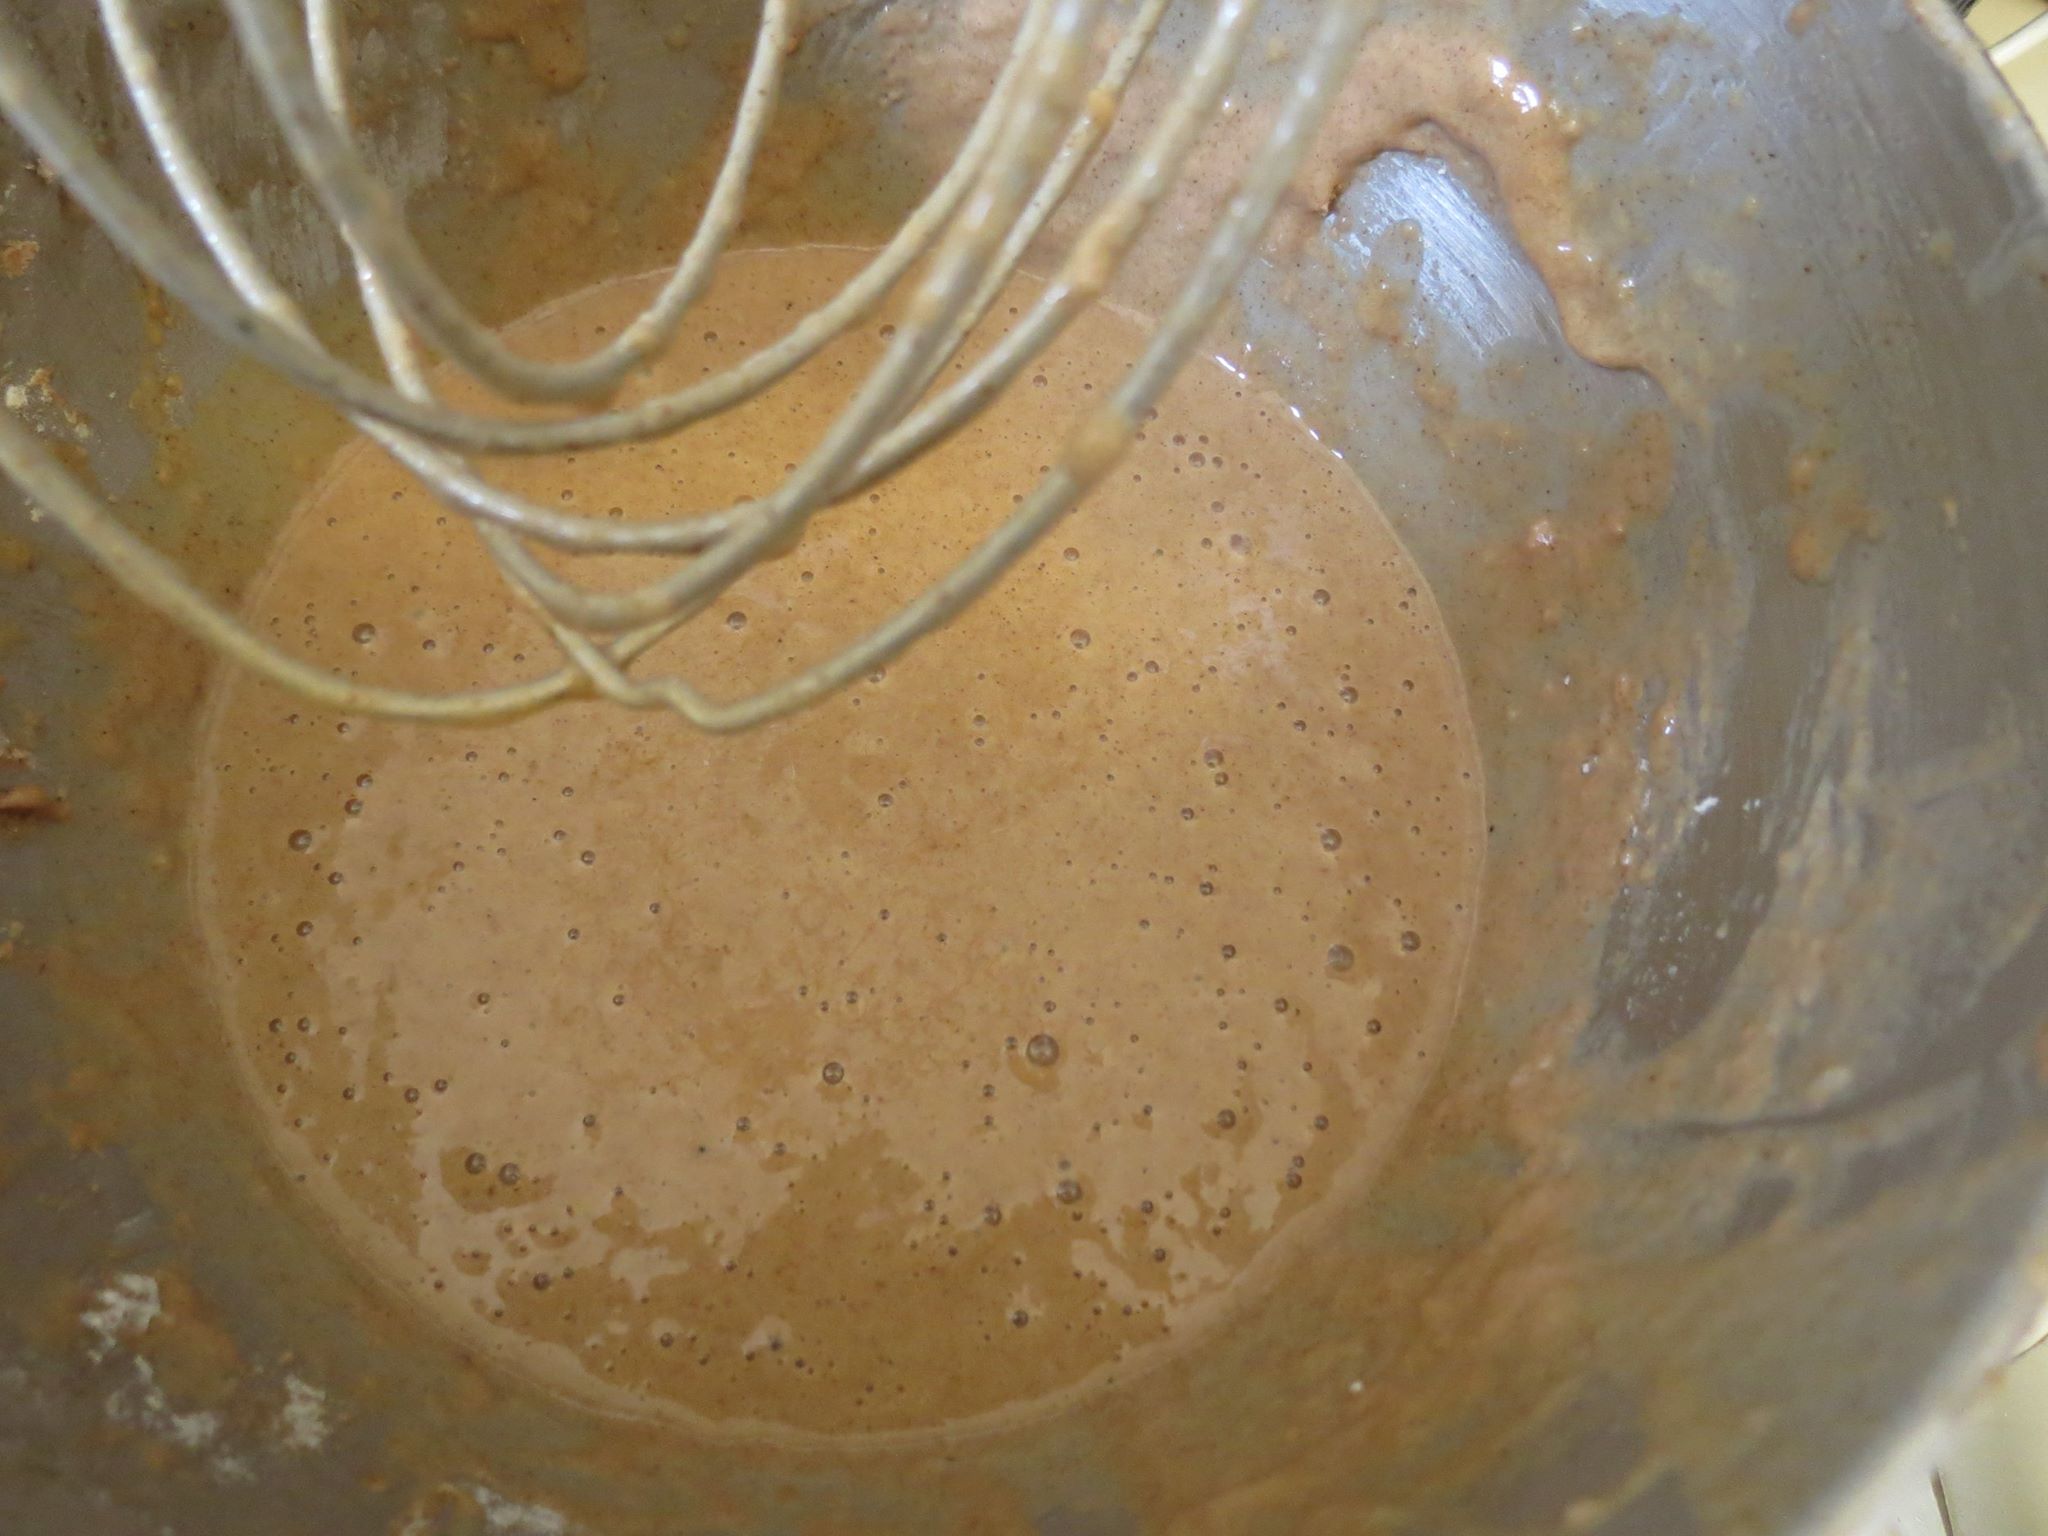
- Using an electric mixer or a whisk, mix together the oil, eggs, applesauce, brown sugar and honey until well-incorporated.
- In a separate bowl, combine flour, baking powder, baking soda, salt and cinnamon.
- Add the flour mixture and coffee to the wet mixture in the bowl.
- Mix gently, just until smooth.
- Scrape the batter into the prepared pan and shake gently to even the top.
- Arrange the figs, bottom-side-down in the pan, making sure to distribute them evenly.
- Bake for 35-40 minutes, or until a toothpick or knife inserted in the middle of the cake comes out clean.
- Let cool to warm or room temperature and cut into squares, ensuring that each square has a fig in it.


